How To Install Drawer Runners

Installing drawer runners and other cabinet hardware is normally a straightforward process. The key to doing so successfully is to get the right measurements. While there are only a few simple steps to installing a drawer runner, it is important to do this in the right way to ensure optimum usability. Read our quick and easy guide on how to install drawer runners and the common types available.
Types of drawer runners
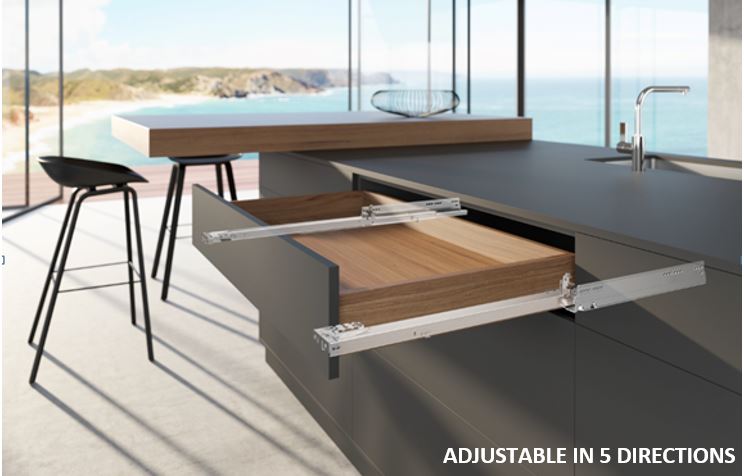
Soft-close Drawer Runners – Soft-close drawer runners prevent a drawer from slamming shut. They are a popular choice in kitchens and have a catch mechanism that slows the drawer down at the end of its travel.
Ball Bearing Drawer Runners – This type of drawer runner makes use of steel ball bearings for a smoother motion. The ball bearings mean that there is less friction when the drawer moves in and out.
Full Extension Drawer Runners – For most types of cabinet hardware, full extension drawer runners are the most suitable choice. The design means that the drawer runner can be fully extended. It is worth bearing in mind that full extension drawer runners will have a maximum weight load.
Step 1: Mark and position the slides
As with installing any furniture fitting, the key to success is in the preparation. The first step is to mark the placement of the slides on the inside of the cabinet. The positioning of the drawer runner will depend on the size and style of your drawer of choice. As a rule, these tend to sit about half of the way from the bottom of the cabinet. Once you have marked where the slide will sit, draw a straight line that is parallel to the top of the cabinet. Next, position your slide along the line you have made.
Step 2: Install the slides
To install the slides, hold them firmly along the mark you have made and insert a screw at the front and back of the slide. Once your screws and the slide are in place, repeat on the other side of the cabinet.
Step 3: Mark the sides
The next step is to install the other slide to the side of the drawer you have chosen. Again, you need to mark the sides roughly halfway down the length of the drawer. Draw a straight line using a spirit level if you need.
Step 4: Position the slide extension
Once you have marked both sides of the drawer hold one of the slide extensions from your drawer runner up to the line you have just drawn. This is a good point to have a quick look and see if your slide extensions will line up. If you need to drop or raise them by a couple of millimetres, you can draw a new line.
Step 5: Install the drawer slides
When you are happy with the position of your slide extensions, mount one side with the screws provided in your drawer runner kit. Flip over and mount the other side at the exact same place as the other side.
Step 6: Insert the drawer
The final step is to insert the drawer into the cabinet. Different drawer runners have slightly different mechanisms but usually it is a case of placing the ends of the slides into the tracks inside the cabinet. You will know when the tracks have connected properly when you get a nice smooth motion in and out.
For help with installing soft-close drawer runners or ball bearing drawer runners from our range, contact our team. We offer free guidance on all of the products we stock and can help with advice on how to install a drawer runner. As a furniture fittings supplier, we provide a variety of cabinet hardware including full extension drawer runners. Browse the full selection and order from our online store.
For all orders over £120 we offer free delivery, we also have a trade account where you can sign up for exclusive discounts and offers. Send us an email at sales@scfhardware.co.uk or fill out our contact form.


